
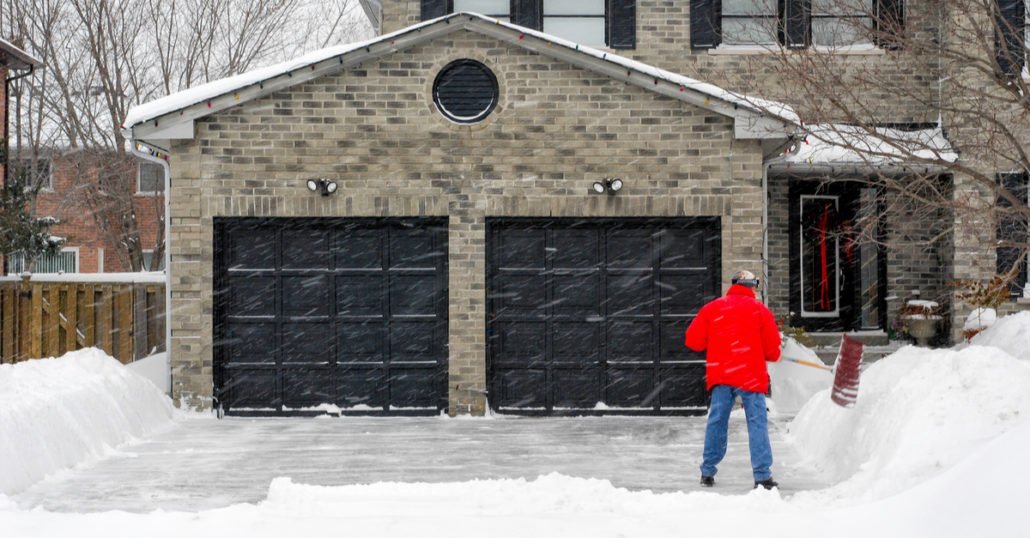
Chicago winters are notorious for sub-zero temperatures, howling lake-effect winds, and heavy snowfall that test every corner of a home’s exterior. For most residences, an uninsulated or poorly sealed garage acts as a massive thermal drain, allowing freezing drafts to penetrate adjacent living spaces and driving up heating costs. Replacing cracked seals and installing durable weather stripping garage door hardware provides an essential first line of defense against severe Midwestern weather. Protecting this primary entry point shields vehicles, sensitive home equipment, and utility lines from freeze damage throughout the season.
Comprehensive weatherization involves more than just plugging visible gaps. This authoritative guide breaks down why sealing your overhead door matters, explores key weatherproofing materials, provides step-by-step installation strategies, and outlines essential winterization techniques for Chicagoland homeowners.
Why Weather Stripping Garage Door Perimeter Seals Matters
An unsealed overhead door functions like a wide-open window, continuously exchanging warm interior air for sub-freezing outdoor drafts. Inspecting and upgrading your perimeter seals before freezing weather arrives delivers immediate functional and economic benefits.
1. Significant Energy Savings and Thermal Protection
Attached garages share structural walls and ceilings with heated living areas. Cold air infiltrating the garage cools the surrounding framework, forcing your HVAC system to work significantly harder to maintain interior comfort.
- Lower Heating Costs: Sealing air leaks around large entryways reduces overall household heating demand during peak winter months.
- Temperature Moderation: Keeps unheated garage interiors noticeably warmer than the outside air, preventing vehicle batteries from draining prematurely.
- Protection for Living Spaces: Helps maintain warm floors in bonus rooms, bedrooms, or offices located directly above the garage bay.
2. Moisture, Ice, and Snow Infiltration Prevention
Wind-driven snow and freezing rain easily pass through worn or missing weather seals, pooling along the concrete threshold.
- Ice Damming and Freezing: Standing water under the bottom seal can freeze overnight, bonding the rubber bulb to the concrete floor and risking damage to the opener motor during operation.
- Structural Decay: Persistent moisture around jambs and header trim accelerates wood rot and rust formation along vertical steel guide tracks.
- Salt and Chemical Runoff: Prevents harsh road salt slush from penetrating deep into concrete floor pores, which causes surface spalling and cracking over time.
Types of Weatherproofing Seals and Materials
Achieving a complete thermal barrier requires combining multiple specialized seals tailored to different edges of the garage door frame.
| Seal Type | Primary Placement | Core Purpose | Best Material |
| Bottom Astragal Seal | Bottom edge of door | Seals gap between door base and concrete floor | EPDM Rubber / Vinyl T-Style |
| Perimeter Stop Moldings | Top and side exterior jambs | Blocks wind-driven air infiltration along tracks | Vinyl flange with integrated rubber seal |
| Threshold Seals | Mounted to concrete floor | Corrects gaps caused by cracked or uneven slab | Heavy-duty solid aluminum / rubber ramp |
| Panel Interlock Seals | Between door section joints | Prevents air seepage between moving panels | Foam tape / Rubber membrane gaskets |
Bottom Astragal Rubber Seals
The bottom astragal slides into an aluminum retainer track running along the lower edge of the bottom door panel. EPDM synthetic rubber seals remain flexible even in extreme temperatures, conforming smoothly to minor floor irregularities.
Perimeter Stop Flange Moldings
Side and top perimeter seals attach directly to the exterior wooden or aluminum jambs. As the door closes, the flexible rubber lip presses tightly against the outer face of the door panels, creating a windproof seal around the entire frame.
Step-by-Step Installation of Weather Stripping Garage Door Systems
Installing new perimeter weatherization hardware is a straight-forward home maintenance project when executed with precision and proper prep work.
- Clean and Inspect the Frame: Remove old, brittle rubber seals using a scraper and utility knife. Wash away dirt, road salt residue, and peeling paint from the jambs and threshold to ensure a clean mounting surface.
- Measure and Cut Custom Lengths: Measure the top header and side jambs accurately using a tape measure. Cut the new vinyl stop molding to size using a miter saw or sharp utility shears, cutting 45-degree angles at the upper corners for a neat fit.
- Position and Fasten Side Jamb Seals: Close the garage door completely. Position the side stop molding so the flexible rubber lip presses gently against the door face without creating excessive friction, then secure it using corrosion-resistant exterior screws.
- Replace the Bottom Rubber Bulb: Slide out the old, hardened bottom rubber astragal from the aluminum channel. Apply a small amount of soapy water to lubricate the track, then thread the new EPDM rubber bulb through the retainer channel.
- Calibrate Opener Close Limits: Test the automatic opener to ensure the door seals flush against the floor without compressing the new rubber seal so tightly that the opener reverses automatically.
Additional Winterization Strategies for Chicago Garages
Installing fresh perimeter seals is the foundation of winterization, but combining it with complementary thermal upgrades maximizes protection against harsh Midwestern cold snaps.
Insulating Uninsulated Door Panels
If your garage door features single-layer steel panels, install rigid EPS foam board or reflective foil insulation kits between the exposed steel ribs. Adding panel insulation dramatically improves overall R-value, reduces exterior noise, and prevents cold bridging through the metal structure.
Sealing Threshold Gaps on Uneven Concrete
Old concrete garage floors often settle unevenly, creating gaps under the center or corners of the door that standard bottom seals cannot fully bridge. Installing a heavy-duty rubber threshold ramp directly to the concrete floor creates a raised mating surface that blocks driving rain and meltwater.
Key Takeaways
- Block Freezing Drafts: Fresh perimeter seals prevent freezing wind, snow, and rain from entering your garage space.
- Improve Energy Efficiency: Sealing large entryways reduces heat loss into adjacent living rooms and bedrooms, lowering winter utility bills.
- Select Cold-Resistant Materials: Use high-grade EPDM synthetic rubber seals designed to stay flexible in sub-zero Chicago temperatures.
- Inspect Seals Annually: Check rubber bulbs and side stop moldings every autumn for cracks, tears, or brittleness before freezing weather arrives.
Protect Your Home Against Winter Weather
Upgrading your weather stripping garage door hardware is one of the most cost-effective home maintenance projects for surviving harsh Midwestern winters. By eliminating freezing drafts, blocking snow melt, and protecting internal framework, a well-sealed garage keeps your home warmer and protects valuable property. Taking time to inspect, prepare, and seal your overhead door before the first freeze ensures reliable operation, improved energy efficiency, and peace of mind all winter long.